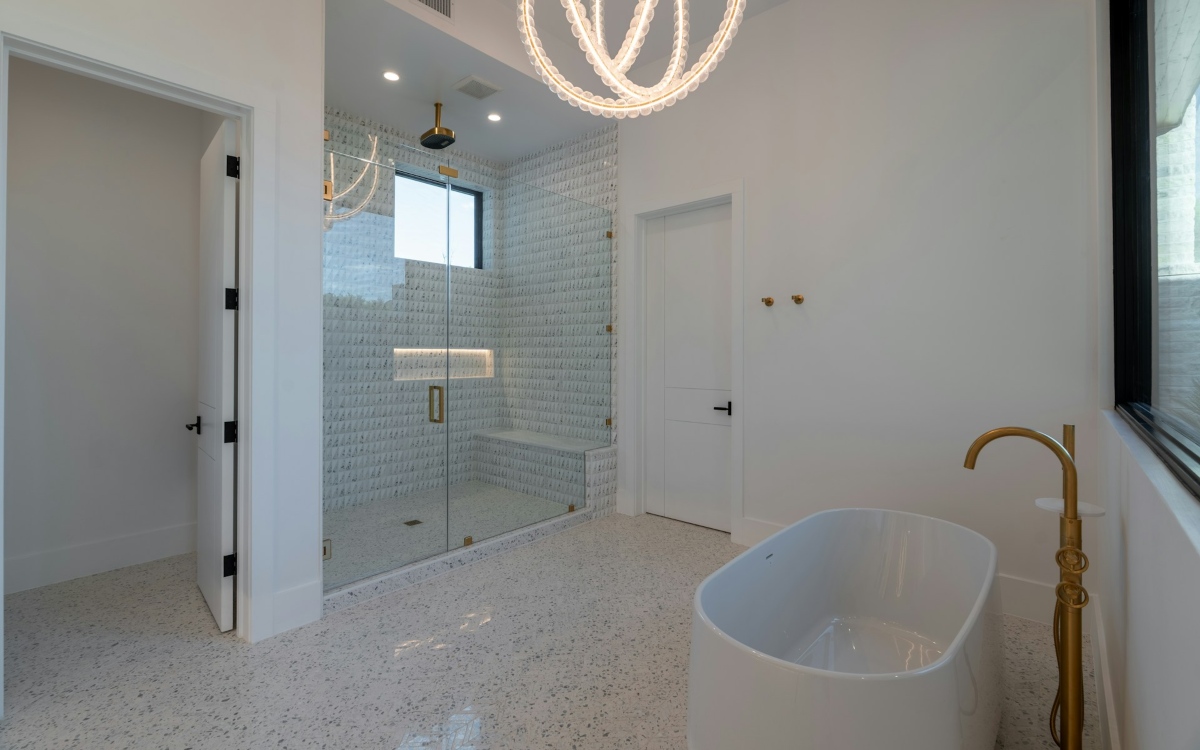
A tub-to-shower conversion can make a bathroom easier to use, simpler to clean, and better suited to everyday routines. The best results come from planning around the people who use the space, not simply replacing one fixture with another. Well-designed tub to shower conversions account for safe entry, storage, drainage, ventilation, and the condition of the room behind the existing tub.
Before choosing wall colors, tile, or glass doors, consider how the bathroom works today and how it may need to work in the future. A shower may be a practical improvement for a homeowner with mobility concerns. However, a household with young children, pets, or frequent overnight guests may still benefit from keeping a bathtub elsewhere in the home.
Is a Tub-to-Shower Conversion the Right Fit?
Many homeowners use their tub mainly as a shower, making the tall tub wall feel unnecessary. Replacing it with a shower can improve daily convenience, especially when stepping over the tub side has become uncomfortable. Still, avoid treating the decision as automatic. If this is the home’s only bathtub, think through resale expectations and the needs of children, guests, or future occupants.
A useful question is simple: will the new shower solve a real daily problem? If the answer involves easier access, reduced cleaning, better storage, or a more comfortable bathing routine, a conversion may be worthwhile.
Key Benefits to Consider
Improved Entry and Everyday Comfort
Removing a high tub wall can reduce the step required to enter the bathing area. A low-threshold shower may strike a balance between ease of entry and water containment. Helpful upgrades can include a handheld showerhead, reachable controls, a built-in seat, and shelves positioned within easy reach.
More Open Visual Space
Using the same footprint as the old tub can make a compact bathroom feel less crowded without moving the toilet or vanity. Clear glass can preserve sightlines, while a shower curtain can be an economical and flexible choice. The right option depends on the room’s layout, privacy needs, and cleaning preferences.
Less Clutter and Easier Cleaning
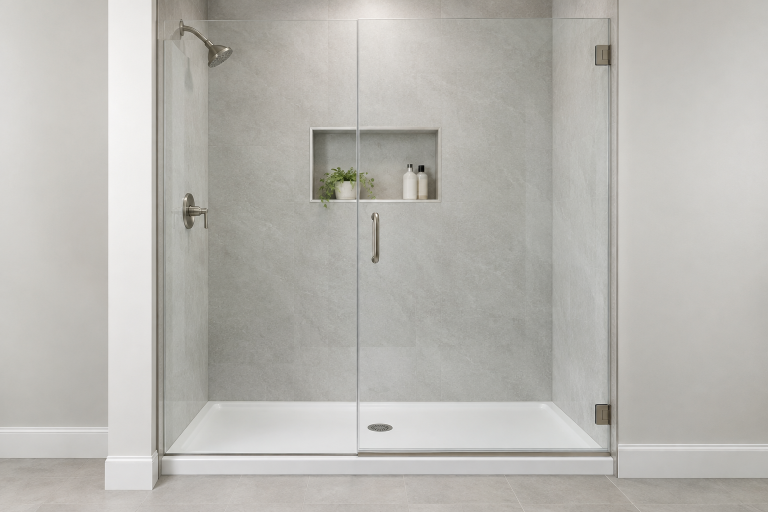
Smooth wall panels, large-format tile, and recessed niches can reduce the number of joints that need routine attention. A practical shower design keeps bottles off the floor and provides enough storage for the household’s actual products.
What to Check Before Work Begins
The visible tub is only part of the project. Before demolition begins, measure the tub opening, door swing, nearby fixtures, and walking paths. Locate the drain, water lines, shutoff access, shower valve, and exhaust fan. It is also wise to look for water stains, soft flooring, mold, loose finishes, or signs of an older leak.
Decide early whether the shower will remain in the existing tub footprint or require a larger layout change. Keeping the original footprint may simplify the plan, but it does not eliminate the possibility of repairs after the walls and tub are removed.
Planning for Safety and Easy Access
Safety works best when it is built into the design rather than added after installation. The guidance for accessible bathing rooms can help homeowners understand considerations involving shower clearances, thresholds, seats, controls, grab bars, and handheld spray units. Private homes may not be subject to the same requirements as public facilities, but the principles can still inform a more usable layout.
- Choose textured flooring intended for wet areas.
- Install wall blocking if grab bars may be added later.
- Place controls where they can be reached before standing under the water.
- Use bright, well-positioned lighting near the entrance and storage areas.
- Leave adequate, clear space around the shower opening.
Choosing the Best Shower Layout
Same-Footprint, Low-Threshold, or Curbless
A same-footprint shower uses the former tub area and can preserve the rest of the bathroom arrangement. A low-threshold base offers easier entry than a tub while retaining a small edge to help manage water. A curbless shower creates a nearly level transition, but it requires especially careful planning for floor slope, drain placement, waterproofing, and the structure below the shower.
Review door swing and fixture clearances before ordering an enclosure. Custom glass should be measured only after the finished shower dimensions are confirmed.
Selecting Durable, Easy-Care Materials
Tile, acrylic, composite, and solid-surface wall systems can all work well when installed correctly. Tile offers broad design flexibility, while panel systems often have fewer seams. Prioritize traction underfoot, durable caulked transitions, useful niches or corner shelves, and materials that fit the household’s cleaning habits. A simple wall system with generous storage is often more practical than a visually striking design with little room for daily essentials.
Plumbing, Drainage, and Waterproofing
A tub and shower may not use the same drain location, valve height, or floor construction. Ask how the new floor will slope toward the drain, which waterproofing system will protect the walls and corners, and how concealed damage will be handled if it appears during demolition. Ventilation also matters because moisture needs a reliable path out of the room.
For water-conscious fixture selection, WaterSense-labeled showerheads use no more than 2.0 gallons per minute while meeting EPA performance criteria. That makes them worth considering when water use is a priority.
Building a Realistic Budget
There is no single price for a tub-to-shower conversion. Labor rates, demolition, material choices, plumbing changes, permits, accessibility features, glass, and repairs discovered behind the tub can all affect the total. Build a contingency into the budget for hidden conditions, especially in older bathrooms.
Costs can rise when the project includes drain relocation, subfloor repair, custom tile, a curbless entry, frameless glass, new lighting, benches, niches, or structural reinforcement. A detailed written scope helps clarify what is included and what may change after demolition.
A Step-by-Step Conversion Plan
- Define the main goal, such as access, easier cleaning, storage, or style.
- Measure the room, including the tub opening, door swing, and fixture clearances.
- Inspect plumbing, walls, flooring, ventilation, and moisture conditions.
- Select the entry type: standard curb, low threshold, or curbless.
- Choose safety features, storage, fixtures, wall materials, and flooring.
- Confirm waterproofing, plumbing work, repairs, cleanup, permits, and inspections in writing.
- Review the final layout before work begins.
Common Mistakes to Avoid
- Choosing finishes before confirming plumbing and drain conditions.
- Overlooking storage until the walls are already closed.
- Focusing on tile appearance while neglecting waterproofing.
- Skipping reinforcement for possible future grab bars.
- Selecting slick flooring for a wet area.
- Assuming the existing drain will work without modification.
- Accepting an estimate that does not explain potential repair costs.
Questions to Ask a Remodeling Professional
- Will the new shower stay within the existing tub footprint?
- Does the drain or shower valve need to move?
- What waterproofing method will be used?
- How will the floor be sloped toward the drain?
- What happens if water damage is found?
- Are permits, inspections, cleanup, and finish repairs included?
- How long will the bathroom be out of service?
Conclusion
A successful tub-to-shower conversion begins with practical priorities. Measure carefully, plan for drainage and waterproofing, choose safe flooring, create useful storage, and make decisions based on the household’s long-term needs. When those fundamentals are addressed before demolition, the finished shower can be more comfortable, more functional, and easier to live with every day.