Thanks to the rapid advancement of technology, it is possible for you to bring a similar level of VFX to your own video projects as they use in Hollywood. With the use of a green screen and a video editor online, you will be able to replicate every single effect to perfection. We will tell you how to do add Hollywood effects to your videos like a pro in this guide, so strap up and strap in for some lights, camera, and action!
Step 1: Get Your Studio In Order
No matter how many top-of-the-line video editing software you have, a working studio is the number one prerequisite. You will need to get your hands on some green or blue cloth, a place to hang it from, and a source of strong light aimed at it such that imperfections and wrinkles in the fabric don’t show. Softwares like Shotcut can do a lot, but it’s best to reduce the load.
For the best results, you can buy a professional backdrop or a green-screen studio kit, both of which are available on Amazon for rather cheap. We shouldn’t have to tell you this, but whatever color you decide to get, make sure the subject in the shot is not wearing the same color. Blue and green are the furthest away from the human complexion, so that’s why they work.
Step 2: Select Your Software
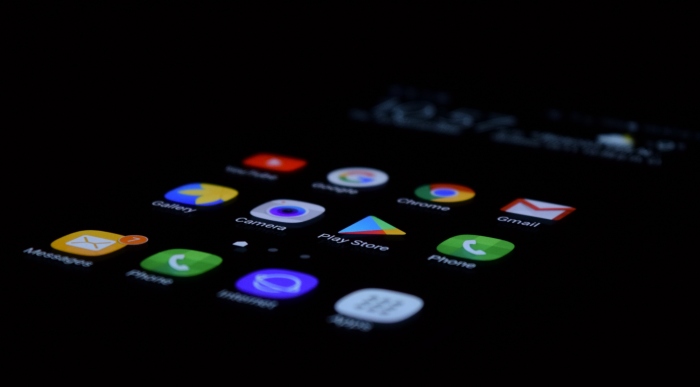
Here, you have a lot of choices depending on the kind of hardware you plan on using. Many smartphones nowadays have the capacity to handle recording and editing, so if that’s your approach, there are any number of professional software available for Android and iOS.
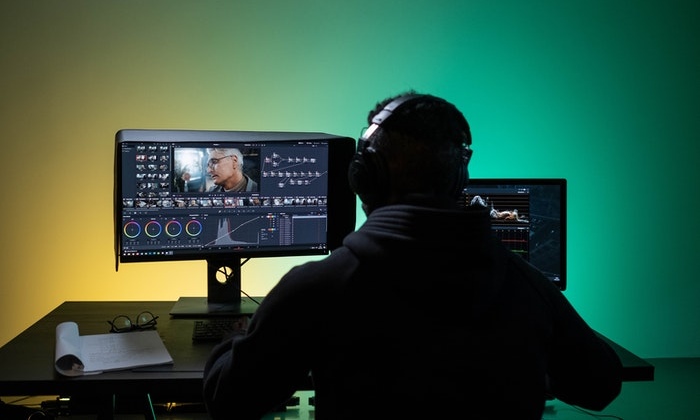
If it is on a desktop or laptop that you plan on doing most of your work, then you can buy specialist software like Lightworks or Imerge Pro to meet all your needs. While you’re at it, you should consider getting a dedicated voice editor to help you dub the raw audio in post-production. A little bit of foresight goes a long way.
Step 3: Record Your Video
For best results, the screen should be as stretched out and flat as possible. Don’t be afraid of using tapes and clips to hold it in place should the need arise. Ask your subjects to stand a few feet in front of the screen to avoid shadows falling on the backdrop. Don’t worry if this takes a few takes to get right – it’s something new, and it’s normal.
Good cinematography is key to success, especially if you plan to grow your presence on YouTube or similar video-sharing platforms. Everyone likes a good video to look at, so take your time and get it right.
Step 4: Picking A Different Background
This is the main reason why we’re using a green screen – to use a different background. The software you have gotten should allow you to pick a new background from a set of existing ones. Updated versions will have more options for you to choose from, but if you end up not liking any, don’t fret. There are other ways of getting the background you want.
You can download green-screen clips and backgrounds online without much trouble. Sites like Pexels, Pixabay, and Videvo have a lot of free and cheap stock that you can look at and use, should they fit. You can find almost everything if you look hard enough.
Step 5: Give Your Scenes The Necessary Tune-Up
Most software deals with green and blue backdrops in similar ways, but err on the side of caution and refer to the instructions that came with your chosen software. Following them should allow you to delete the green or blue layer and merge the foreground with your chosen background with relative ease.
But don’t stop there! Videos are much better at grabbing attention than still photos, so you need to make yours the best you can. If you decide on using a dedicated video editing software, you can do so much more – fix lighting issues, layer effects for both audio and visuals, and even remove multiple shades of color. The best thing you can do is rearrange your clips or layer them on separate timelines. Experiment. Add music. Make it your own. That’s the way to success.
Final Thoughts
The art of cinema has been advanced, every time, by eccentrics and visionaries. New inventions in set design, camera movement, lighting, editing, etc., have all come from people who wanted to do something different and thus experimented with the tools they already had. Do not limit yourself, either. Filming is an art, just like editing, and you need to find your own style of doing things.
Follow this guide, sure, but also exercise your own individuality. Use apps and software that you see fit, and employ techniques that you can call original. That’s the way to make your video appear to be of Hollywood quality!
Readers Might Also Like:
 These Essential Apps Will Make Your Life Easier & Help You Save Money
 How Much Do Artists Really Get Paid For Streams – A Financial Breakdown
 Why CBD Bath Bombs Are Worth Trying
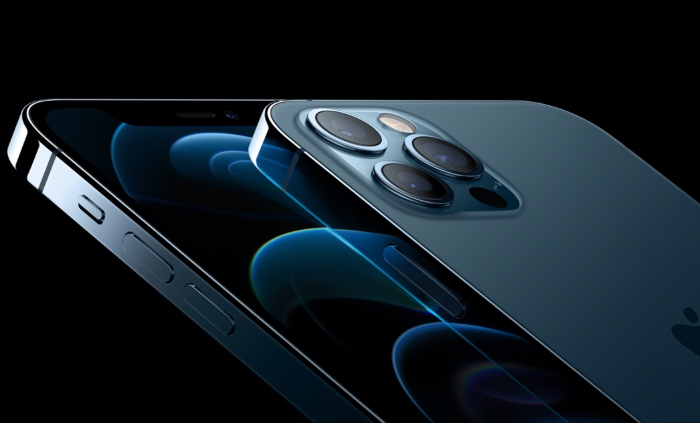 Features You Didn’t Know Your iPhone 12 Pro Max Had